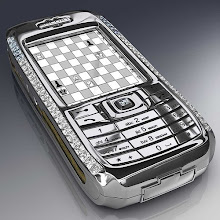
Tools required: plastic shim such as a guitar plectrum and T6 screwdriver
Turn your phone over so the camera is facing you and remove the battery cover and battery. Next slip your plastic shim or fingernail in the gap between the back of the phone and the aerial cover (where the arrows are, pictured below). Give this part a hard push up. Then remove the circled rubber part and two screws at the bottom of the phone.
 Push the aerial (green part below) up, as shown by the arrows. You'll need to be firm, but don't worry, it won't break.
 Next remove the 2 screws below the aerial (circled below).
 The front cover will easily unclip now and you have the phone in two parts (pictured below).
 Lift the screen from the bottom (shown below). If you do not need to remove the LCD (you are only changing the housing), ignore this and the next step.
 The screen is connected to the phone where circled below. It is held on by a hinge. Lift the hinge and pull the ribbon and the screen will come away from the phone. Take note of how the ribbon connects as this will make it easier when you connect the new screen. Replace the old LCD with new and then put the phone back together. If you are replacing the LCD only (not changing the housing), ignore the next steps.
 Next remove the PCB from the phone' chassis. Lift it from the top, as pictured.
 You are now left with the chassis and a few parts like the mic, vibrating motor and speaker, pictured below. Remove these and put them in the new chassis.
 Put everything back together and it's finished

No comments:
Post a Comment