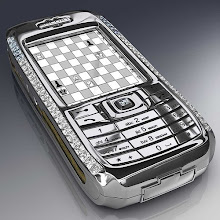
Tools required: Torx 6 screwdriver, Phillips screwdriver
Remove the back cover, battery and four screws you can see
 Next remove the two rubber caps at the other end of the phone. Underneath are two more screws which you need to remove
 Next run a fingernail along the edge of the battery compartment to separate the phone into two parts
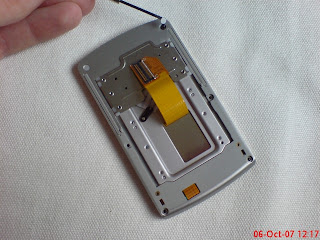
 Your phone will now be in two parts, like below
 Lift the camera assembly from right to left, as shown below. This part is held on by a ribbon which connects like a plug and socket. Unplug the ribbon by pulling it away from the camera assembly
 With the ribbon unplugged you now have access to six more screws. Remove these. Note the wire below. It is soldered on so be careful with this as it is very difficult to replace if damaged
After you've removed the six screws from the previous stage you can again separate the phone into two parts. The two parts are held together by another ribbon which you can see disconnected below. Remove the 4 screws you can see
 There are two more screws to be removed, which are covered by sticky pads, shown below


No comments:
Post a Comment