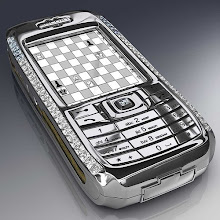
Tools required: Torx 6 screwdriver
Remove the battery, back cover and your memory card.
 Remove the two screws you see. Two screws are covered with rubber stoppers. Lift those out with something like a bic pen lid then remove these screws too.
 You can now remove the front cover by running your fingernail all round the edge of the housing
 You'll now have the front cover removed, like below.
 Now lift the circuit board from left to right. The circuit board will still be attached by a ribbon so don't try and lift it away from the phone yet.
 The ribbon, indicated by the screwdriver in the picture below, attaches like a plug and socket. Simply lift it up to unplug it.
 Your phone should now look like below.
 Lift the green part shown below (it's held in place by a couple of clips around the edge) and you'll see three more ribbon connectors. Unplug the middle one
 Now turn the phone over and lever the old screen out
 You can now remove the LCD screen and replace with new. Reverse the whole procedure for reassembly.

No comments:
Post a Comment