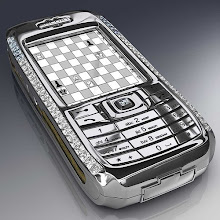
Tools required: plastic shim such as a guitar plectrum and Phillips screwdriver
Remove the memory stick, stylus, battery cover, battery and SIM. Next remove the 4 screws (where the circles are, pictured below). The top two screws will be covered with plastic stoppers but these are easily removed.
 Slide your fingernail or plectrum along the join of the housing (pictured below). Gently prise the phone cover apart from the bottom of the phone (there are clips at the top of the phone so you may damage them if you try and prise the housing apart from the top).
 The phone should now be in two pieces, as pictured below.
 Lift the screen from left to right, as pictured below. It is very important that you lift from left to right as there is a ribbon cable on the right which can snap if you lift the screen from the wrong side. Note the screws (circled below). Remove these while holding the screen up.
 The motherboard now needs to be removed. It is held in place by clips in the housing. Gently work your way around the edge of the phone releasing the clips so the board is gradually freed. Now lift the motherboard with the screen still attached by the ribbon (circled red) from right to left as another ribbon (attached to the jog dial) is on the left hand side of the phone (in the general area of the blue arrow). If you try and lift the motherboard from left to right you may snap the jog dial ribbon.
 You should now be able to disconnect the ribbon attached to the LCD. The LCD is now removed (pictured below). Reverse the procedure for disassembly and it's finished.

No comments:
Post a Comment