Tools required: Phillips size 0 screwdriver
Remove your back cover, battery, sim and memory card.
 Remove the Samsung sticker, as shown below. Now remove the five screws you see.
 You can now remove the battery compartment, as shown below. Next you need to disconnect the ribbon, circled. Remove the green tape first. The connector has a hinge which you need to flick over to release the ribbon.
 Remove the sticker at the bottom of the phone to reveal two more screws. Remove these.
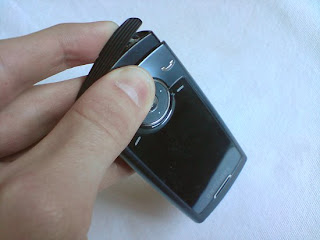
 Now remove the black part, shown below.
 Lift the circuit board up to reveal another ribbon connector, indicated by the arrow. This one attaches like a plug and socket. Simply pull the connector away from the circuit board to unplug it.
 You can now remove the circuit board, like below.
 Remove the sticker shown below to reveal six more screws. Remove these.
 You can now remove the slide, as shown below. Remove the two screws, circled. Now, holding the front of the phone firmly, push the back of the phone in the direction shown by the arrows. This will separate the front and back of the phone.
 Your phone should now look like below. Pull the LCD screen towards you. It'll be stuck down lightly with double sided tape.
 Disconnect the ribbons attached to the LCD screen and re-attach them to the new LCD. Reverse the whole procedure for reassembly.

No comments:
Post a Comment