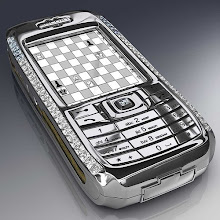
Tools required: Torx 6 screwdriver, plastic tool such as a credit card or guitar plectrum.
First remove the battery cover, battery, sim etc. Remove the six screws you can see. Note that the two screws at the bottom of the phone are longer than the other four so make sure they go back in the right place.
 Run your plastic tool around the join of the battery compartment to unclip it.
 With the battery compartment removed your phone will now look like below. You now have access to a ribbon connector. The connector attaches like a plug and socket. Lift the connector up, away from the phone to unplug it. The green circuit board will now be loose and can be lifted away.
 Run your credit card around the join of the front cover then push in the direction shown by the arrows. This will release the front cover.


No comments:
Post a Comment