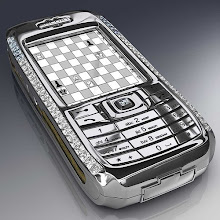
Tools required: Phillips size 0 screwdriver
Remove your back cover, battery, sim and memory card. Now remove the four screws you can see.
 Run something like a credit card or guitar plectrum around the join of the battery compartment to release it.
 Your phone should now look like below. The four circled connectors need disconnecting. The connector bottom right, with the thin wire leading from it, needs to be levered off. It will come off without much force. Each of the other three connectors attach like a plug and socket. Simply lift them up to unplug them. You should also be able to see another screw holding the circuit board in place. Remove this.
 You should now be able to remove the circuit board. There are various wires and ribbons in the way so you need to carefully move the circuit board around until it is loose and can be moved freely. You'll notice that a ribbon connector (circled), which attaches to the other side of the circuit board, has become unplugged. Remember to reconnect this when you put the phone back together. The camera, circled in red, is lightly stuck down and needs to be released. Just lift it up, noting that it is still attached by a ribbon, and it should come loose.
 Now lift the grey part from right to left to remove it. A few clips around the edge of the phone hold it in place.
 Your phone should now look like below.
 Now use something like a credit card or guitar plectrum to lever the LCD from the point shown. Double side tape holds the screen in place lightly.
 You should now have the LCD removed. Reverse the whole procedure for reassembly.

No comments:
Post a Comment